Christmas 2014

Standard

As always, I’m behind in my blog!  This past Christmas, I decided to cut back in the handmade gifts I was making.  It becomes very time-consuming and stressful.  I also feel like I can’t dedicate as much time to making each gift awesome, since there are so many to do.  This year, I focused on a few awesome things and went with it, full strength.  I’m so happy with the results.

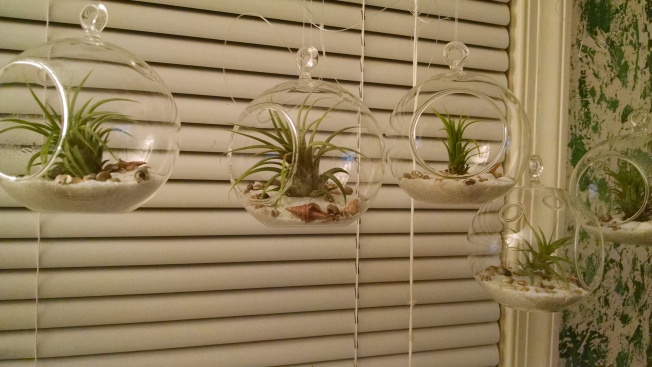
First off, for just about everyone, I made one of these glass globes with an air plant friend in it.  I got pretty lucky with these.  When they delivered the box, they hid it behind the trash can, in front of the garage door.  Let’s just say I didn’t see if for 3-4 days.  However, all the plants managed to survive no light and Pennsylvania Winter for 4 days!  I also bought these really cute spray bottles from TheContainerStore.com so everyone could mist their plants daily.  I just think they look wonderful and everyone seemed to really like them.
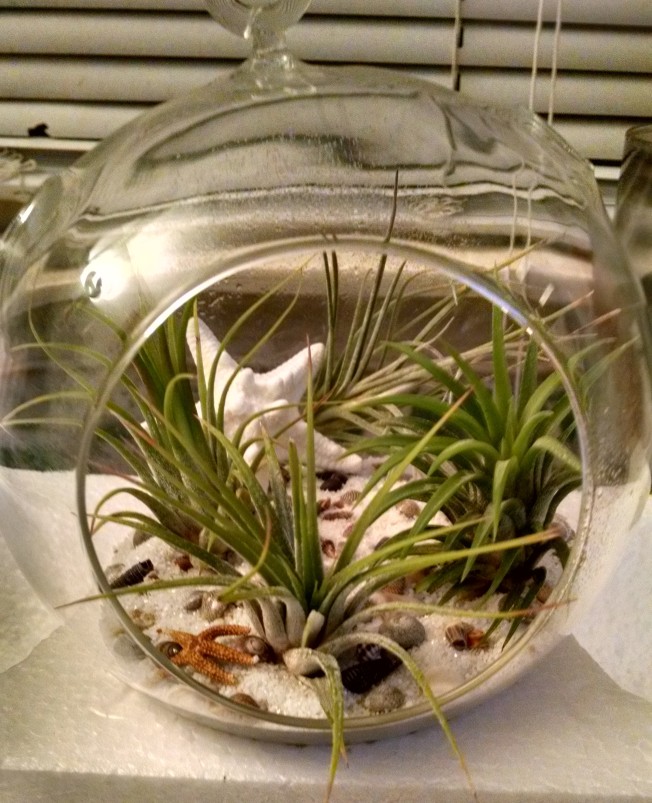
AirPlantGlobe4This one was for my brother and his family.  I figured I’d get one big glass ball so the family of air plants could live together.

Happy Little Air Plant Family!

Happy Little Air Plant Family!

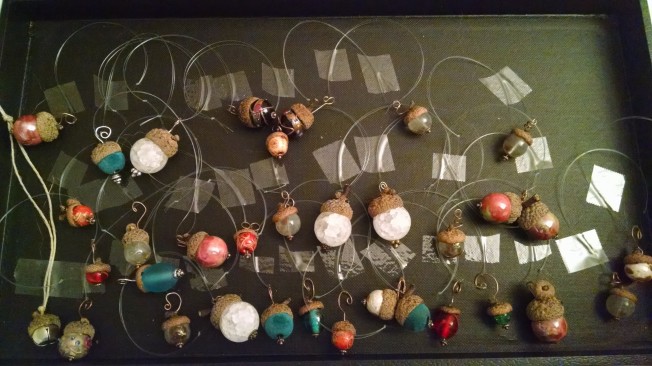
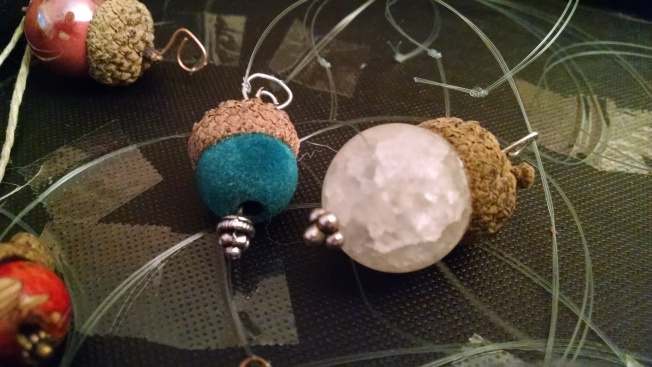
The next project, also nature related, was making these really cool acorn ornaments.  It was a little tricky finding beads that were just the right size so I did a variety of colors and styles.  Just a simple little something to share my love.  I collected acorn tops every time I walked the dog.  He got slightly irritated with the constant stopping but I thought, “ha, now you know how it feels when you have to stop and smell an animal, from four hours ago, that you’re never gonna get”.  Once I had enough, I got beads that would fit in and some bead pins to make a cute point at the bottom.  I used my handy Dremel and drilled holes in the center of the caps.  Bead Pin -> Bead -> Acorn Top -> Scrolly Twist -> Fishing Line -> Finished!
So Sweet!

So Sweet!

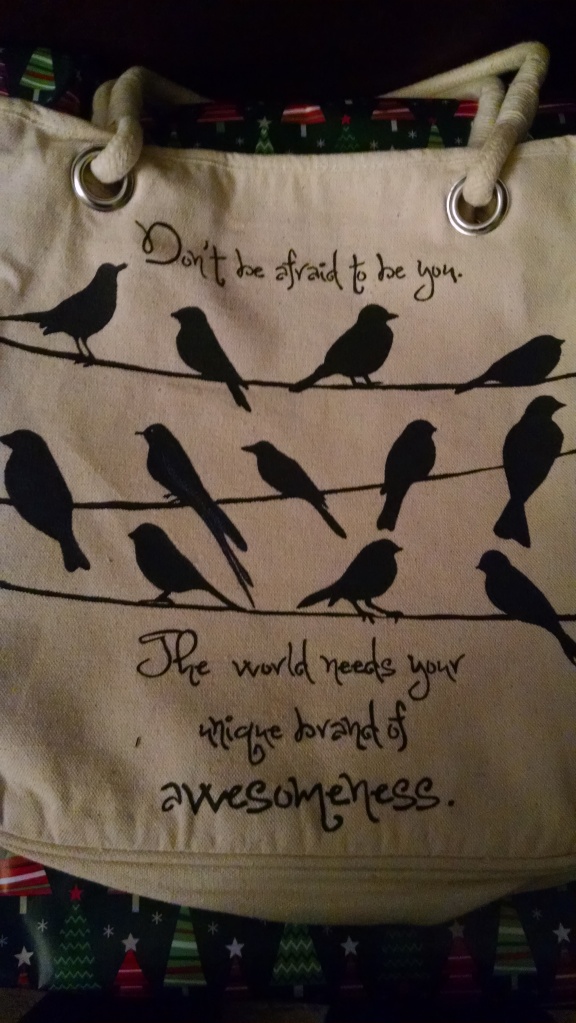
AcornOrnaments5For my niece and nephew, I decided to do Freezer Paper tote bags.  I filled them with some different, smaller gifts.  My niece is getting older, the pre-teens…oh yea!  I feel the best thing we can teach our younger girls is to love themselves for who they are.  To have confidence in more than just their bodies but their minds, hearts and souls, who they are as people.  I went with this for her.  You can’t tell from the picture, but the one bird is detailed in some color to stand out from the others.

True Story!

True Story!

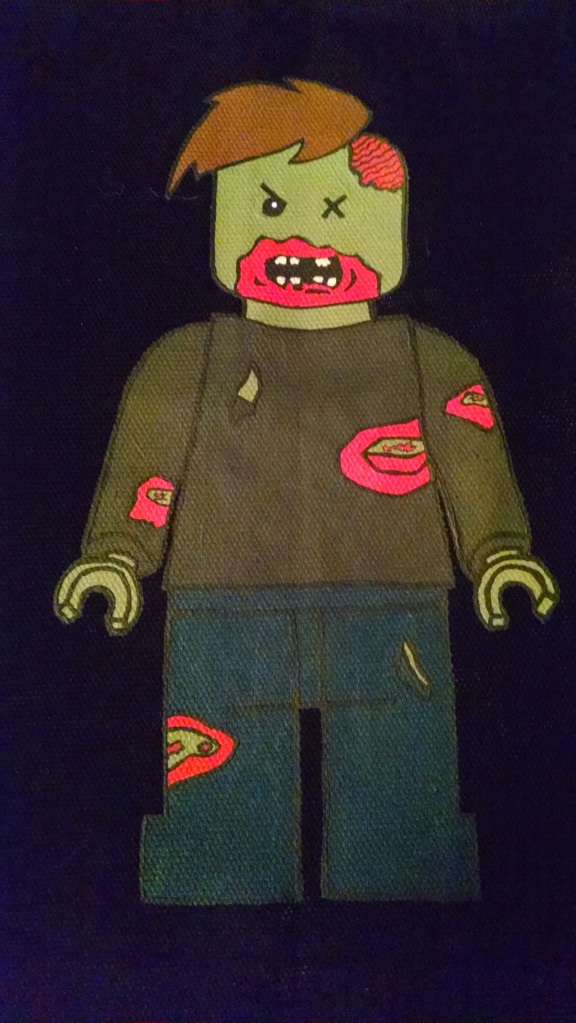
My nephew is a little younger and is a lot like my older brother,  a super creative nerd with great taste and an amazing imagination!  For him, I went with something a little different…

Muuuhhhmmm....

Muuuhhhmmm….

I was really happy with the tote bags and I think they were too!

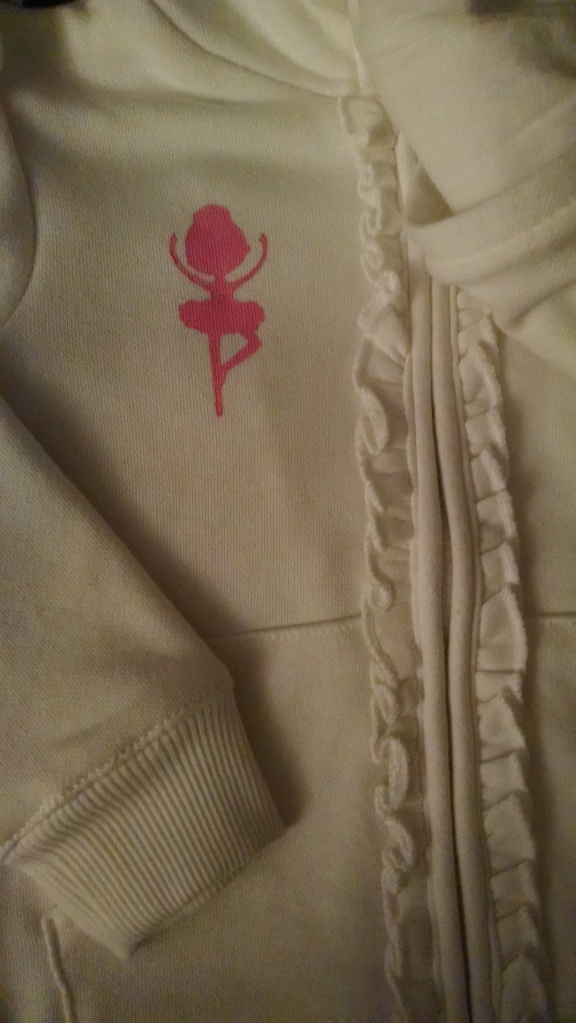
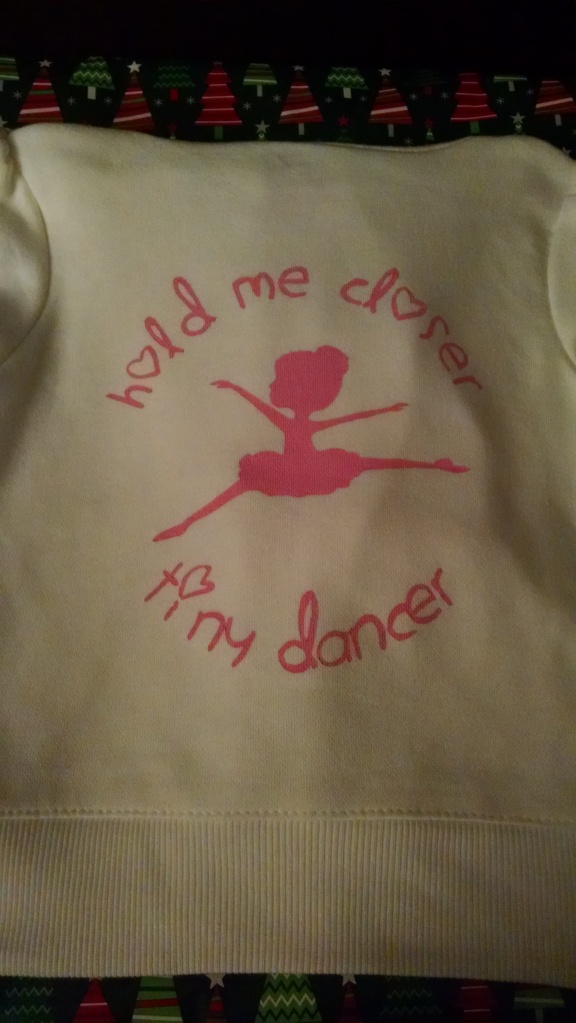
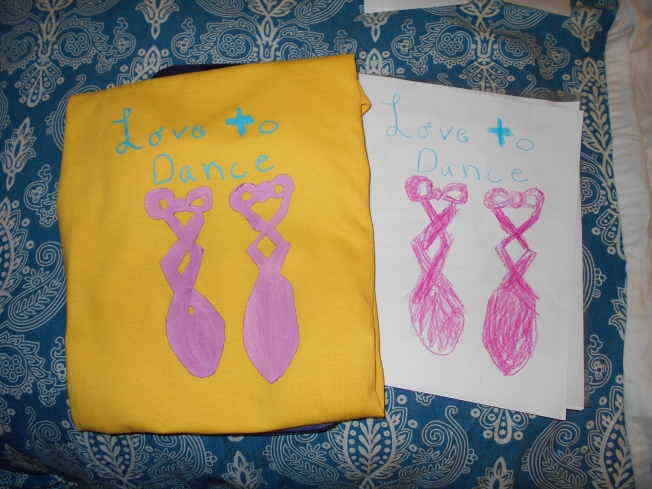
While we are on the topic of Freezer Paper.  I also did this cute hoodie for one of the little sweeties in my life.  Her mom has a dance studio and I thought it would be the perfect thing for when she’s there!

Front

Front

Back

Back

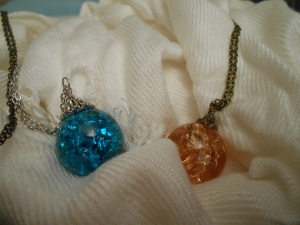
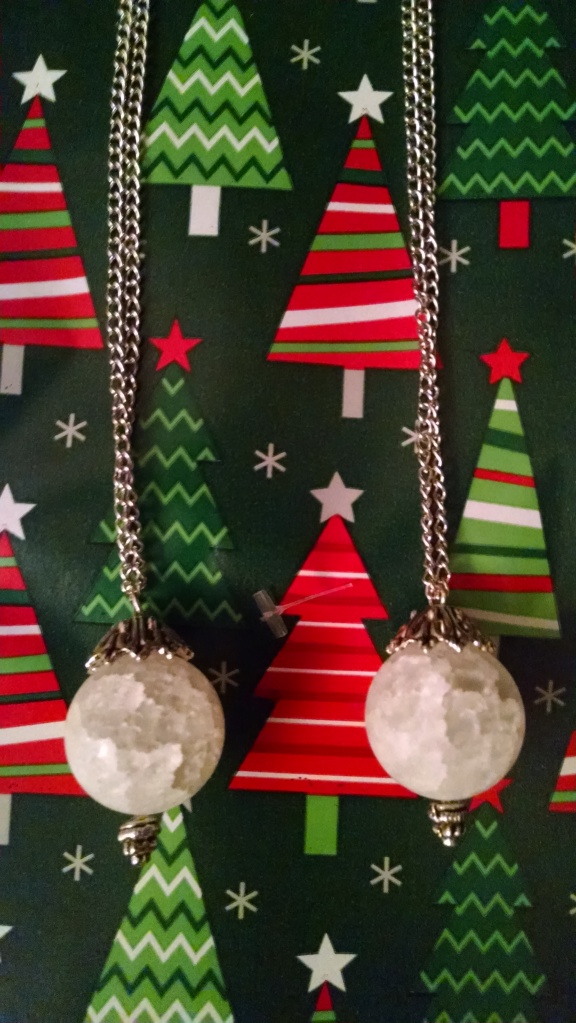
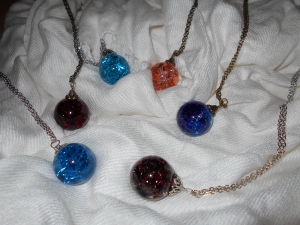
Last, but not least, I made some cracked marble necklaces last Christmas.  Unfortunately, the glue wasn’t as awesome as it should-be, and some fell apart.  Two friends of mine really liked their necklaces but they had broken.  To be sure these new necklaces would enjoy a longer life, I found these beads that have a very similar look to the cracked marbles, just without the work on my end! It’s a win to me!  This time, instead of gluing bead caps, I was able to use a pin through the bead, through the bead cap and make a loop.
MarbleNecklaceRound2
That’s about it for the handmade gifts.  It was nice to have a manageable list and be completely satisfied with the results!

With Love,

Rhianna
Handmade Christmas 2013 – More Freezer Paper!

Standard

I have to say…this was the best thing I ever came up with. I want to do this every year!!  I just loved everything about it!!!

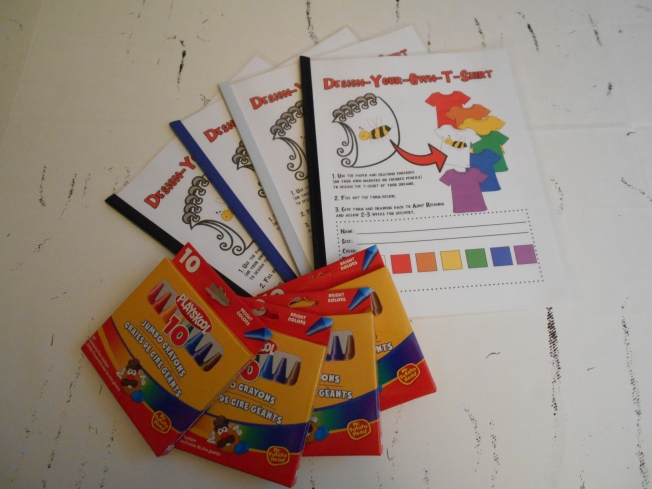
I created this lovely order form for each of the kids in my life.

DesignKit

Looks like something out of a magazine!

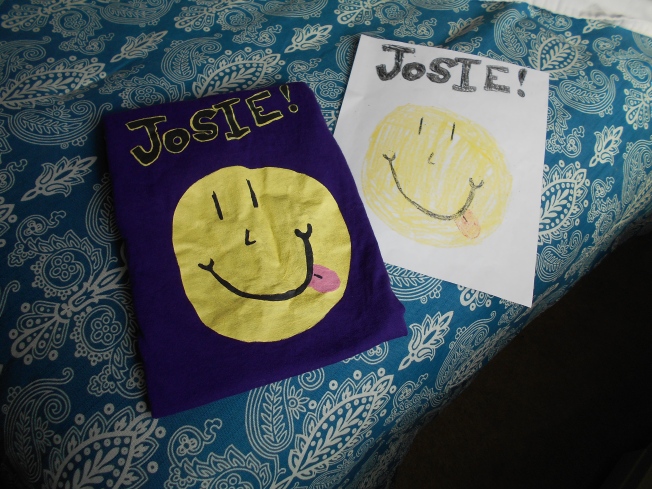
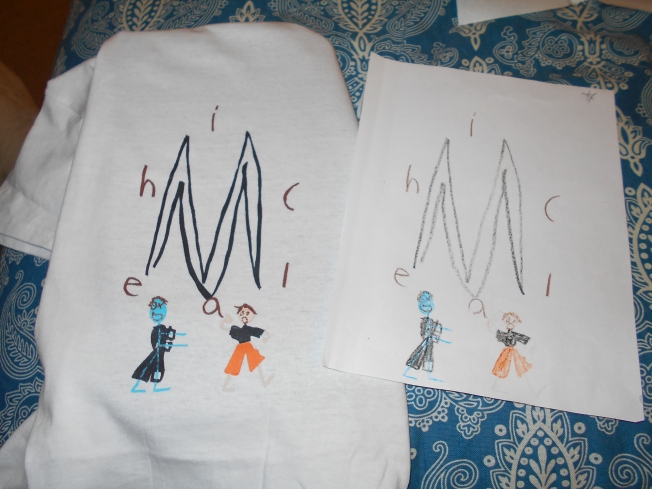
The order form, along with some blank paper was put in a clear sleeve binder with a pack of crayons. Each child got to design whatever they wanted to be painted on a t-shirt, in their choice of color. Look at these great t-shirts!

Josie'sShirt

Michael'sShirt

Savannah'sShirt


They were so popular one of the kids asked their mom if I could possibly make a t-shirt for their daddy for father’s day! Of course I could!


Dorkasaurus (that's his nick name) looking Bean-Bag-Tastic!

Dorkasaurus (that’s his nick name) looking Bean-Bag-Tastic!

Is that a stain? Already?

Is that a stain? Already?


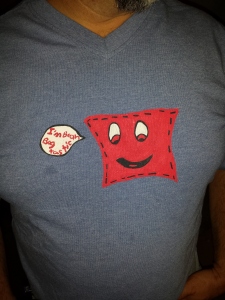
I think these Design-Your-Own T-shirts might end up being an order-able product from With Love, Rhianna!


Finally, caught up on all my blogs – except for one…you know who you are!!!


With Love,

Rhianna
Handmade Christmas 2013 – Freezer Paper!

Standard

The last two Christmas 2013 posts get their own blog post because they were my 2 favorites. They also happen to be something that I feel like I’m really good at…things involving FREEZER PAPER!

Oh Freezer Paper, how I love you!!!

These turned out amazing! I just love that I can put anything I want on a shirt!

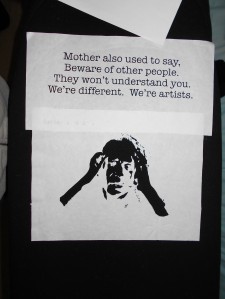
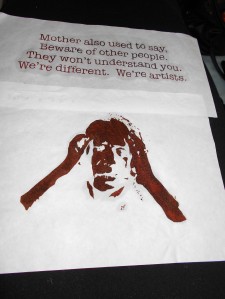
Special thanks to a friend, Jodi, who brought in her Cricut Cutter for me to use. On a side note, I want, no NEED one. The text on the Edgar Oliver sweatshirt would have been crazy to have to hand cut! Everything else was hand cut though.

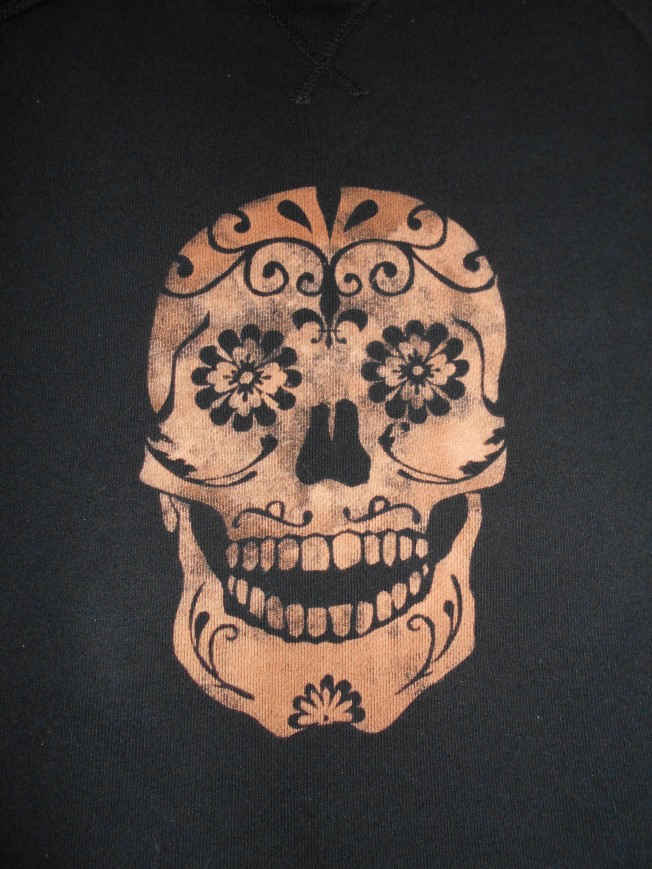
It was interesting to see how differently the bleach interacted with the different black materials. The Edgar Oliver Sweatshirt and Sugar Skull were the same brand and those came out amazing.


EdgarHoodie

Freezer Paper Applied…

The Bleach is Working...

The Bleach is Working…

Finished!

Finished!


SkullHoodieCloseUp


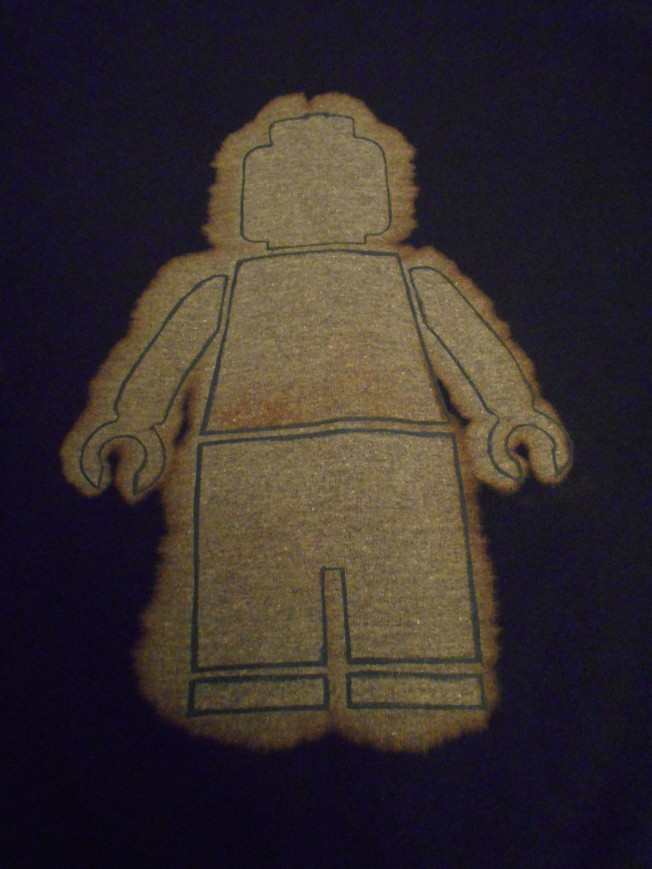
The Lego man sweatshirt, as you can see, bleed…A LOT! But in the end, I still liked it. It makes me think of the opening for X-Files.

LegoManCloseUp

Insert X-Files theme music here.

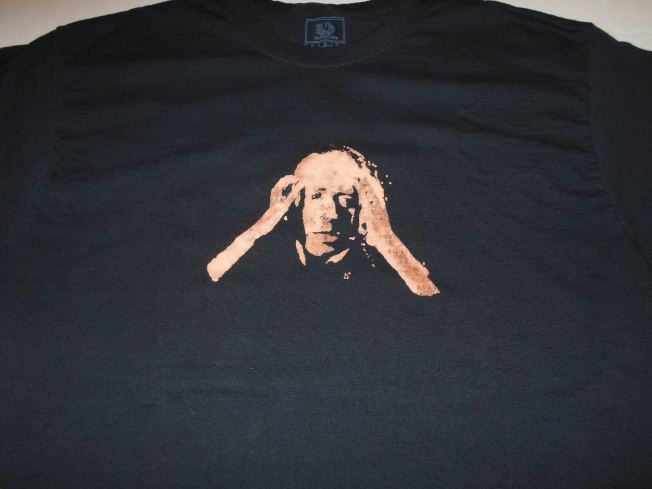
I also did the Edgar Oliver but on a t-shirt. I wasn’t as happy with the bleaching on this one but still looks awesome. I just think it bleed a little and some of the detail was lost.

EdgarTShirt

If you find yourself saying, “who is Edgar Oliver?”…ask no more and watch either his appearance on Oddities or EVEN BETTER, watch some of his story-telling. I don’t think there is anyone cooler in the whole world.


Handmade Christmas 2013

Standard

As I said earlier, a lot of the Christmas presents I made were from posts and pins I had collected over the year. Here’s a quick run down on a few. There are already so many instructions out there to do the projects…so I won’t bore you with the details.

I did 2 types of scarves for Christmas 2013.

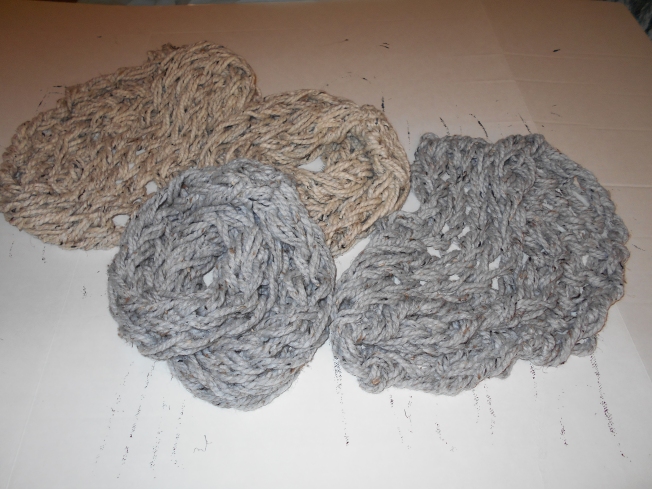
One was Arm Knitting…okay, I am in LOVE with this. It is so easy to get the hang of (once you find the right YouTube video to watch)! I could whip an infinity scarf out in 10-15 minutes, once I got in my groove, while watching TV. That’s the perfect craft to me.

Here are the finished products. I just loved the yarn I used. It’s Lion brand yarn.

Cozy!!!

Cozy!!!

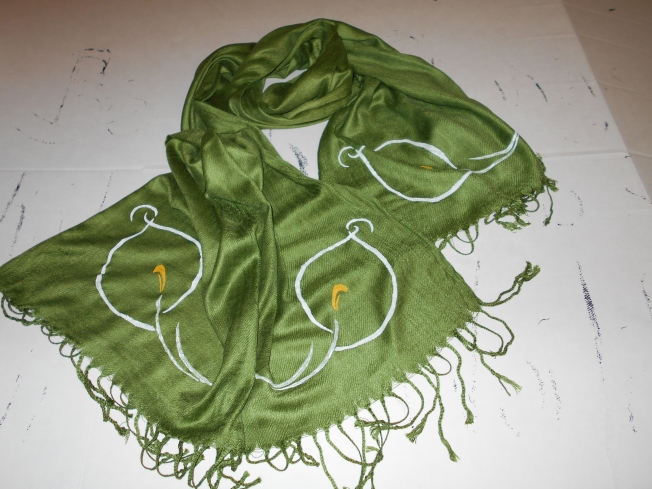
I also made this Calla lily scarf. I was hoping to use bleach instead of paint but…surprise, the pashmina I bought, wouldn’t bleach. So I switched over to some lovely fabric paint. I feel like I would’ve been happier if the bleached worked. Oh the trial and errors of crafting! DSCN0068

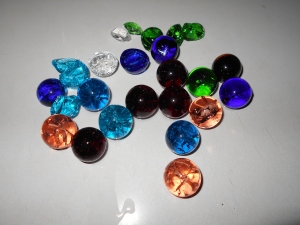
Then I cracked some marbles…usually I’m losing them! It looked fun!  I had to go to a website to order myself some 1 inch marbles. I could only find really small marbles at the craft stores. I was so excited when they came. As you’ll begin to see, there is a theme with my Christmas 2013 projects, there is the illusive “idea” and then the reality part comes into play. I followed the instructions and some of my marbles cracked…others didn’t do a thing. My theory, throw ‘em back in the oven and try again! That cracked some that didn’t the first time and shattered some of the others. It seemed that some colors cracked better than others. The blue, red and purple were pretty good. All the green ones broke (sorry, AP).

Going Marbles!

Going Marbles!

All Cracked Up!

All Cracked Up!


Once I was done cracking and breaking marbles, I attached some cute bead end caps with pins inside to make a loop with. Very technical terms here!  I bought that E-6000 glue since it’s supposed to be SO AMAZING! I have yet to feel the power of its amazingness. Sadly, a lot of them didn’t stay glued. I even tried gluing where the cracks were to help it get a good grip. That’s why I always give a “free repair” policy with any gift! I added some long chains so you could wear them as a necklace or hang them in the window. They really did turn out beautifully, if only the glue was better.

NecklacesNecklacesCloseUp


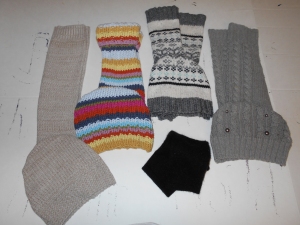
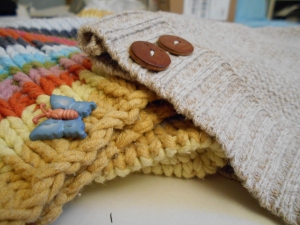
I saw some pins on recycling sweaters and thought this was a great idea. It’s funny how time can change things. Looking back, I’m not as crazy about them. Or I should say, some turned out better than others. It’s very important that your sweater isn’t too chunky.   Basically, you can use the arm holes, if the sweater is big enough, for some boot cuffs. You can use the bottom of the sweater and make a cute hat from it.

Then you can add some buttons, ribbon or beads to give it that extra detail.

All Hat & Boot CuffsHat & Boot Cuff Details


I don’t think these were a favorite amongst the handmade gifts.


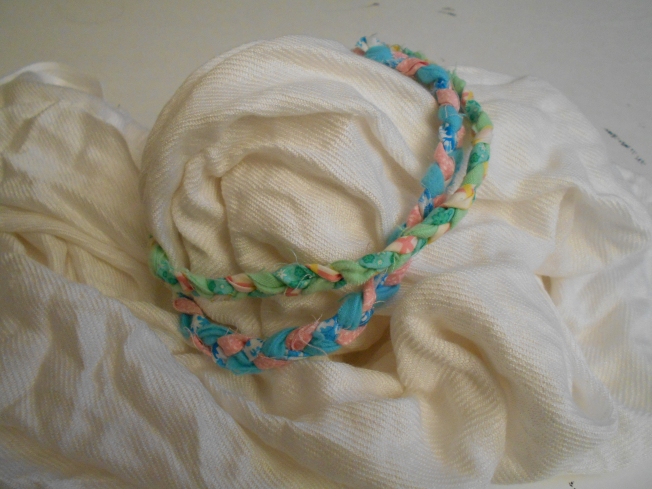
My niece is into sports and the girls love to wear that sport wrap stuff for headbands. Lovely but instead…take these! Once again, found on Pinterest, it was super easy to create these braided scrap fabric headbands. They are even prettier than sports wrap but still nice and thin. Headbands are in right now!

BraidedScrapHeadband


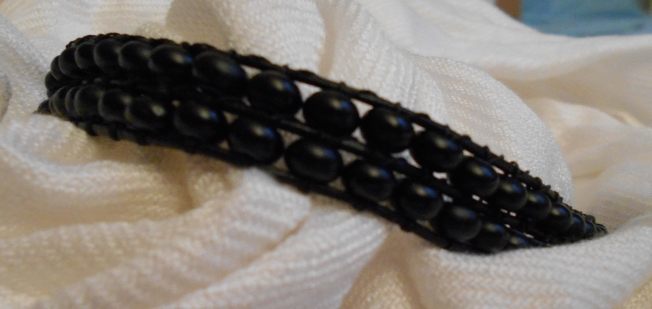
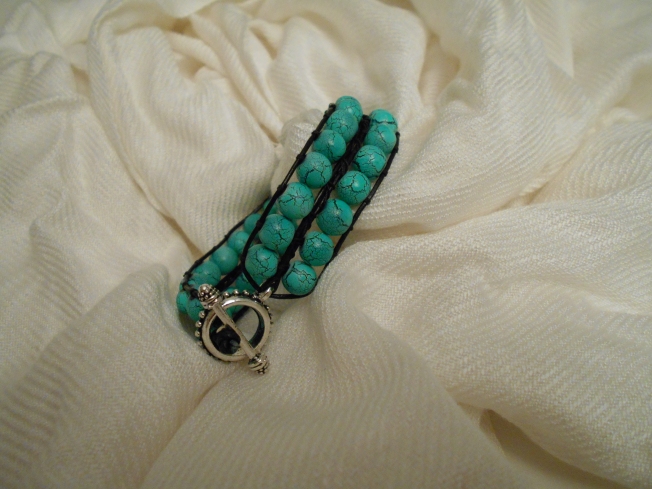
I love these bracelets and was seeing them everywhere! I read a few posts to get an idea and then went for it. I’m not sure that I followed the proper technique, but they turned out great. The black one was for my BF. I’ve made 2 more since then. The first one pictured here, the cord broke. I bought a thicker cord and this one lasted much longer. However, the upholstery thread I used eventually caved to its environment and fell apart. Also, even though it said “glass beads”, they were painted glass beads and the paint started chipping off to reveal white “glass” underneath. For the third one, I used the thicker cord, some sinew thread instead of upholstery thread and found beads that APPEAR to actually be black the whole way through. Fingers crossed!!


Kinda blurry...sorry!

Kinda blurry…sorry!

The other one I made for my mom. This one got a pretty clasp for a more feminine look.

TurqoiseBracelet

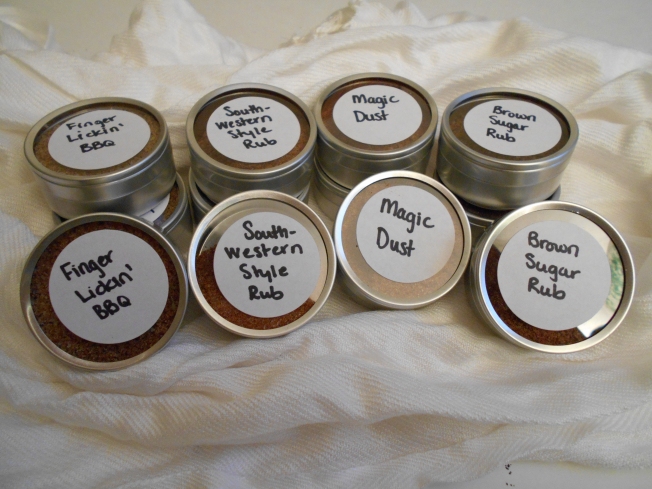
There are so many great meat rubs out on Pinterest and it’s the perfect DIY gift for the men in your life, or someone who loves to cook. Most of the ingredients I was able to get at my local Dollar Tree. There were only a few I had to spend $8 on for the nice glass bottle with pretty fonts and what-not. I would imagine there are really cool spice containers available online but I just went with the little containers they use for candy/mints at weddings.

Spicy!!!

Spicy!!!

If I remember, I couldn’t get my computer to work with the program to print the labels…so I had to hand write. That makes it more personal, right?


Since I forgot to say it last time!

Love,

Rhianna

Lego Belt – Everything Is Awesome!

Standard

Hi Everyone! I miss you! I’m still alive and still creating. I just haven’t had any time to tell you about it. There is so much catching up to do. You will hear from me for a few weeks and then I will most likely disappear, again, for a while.

I just find when I have the option of living and enjoying my life, or writing about it, I pick the first!

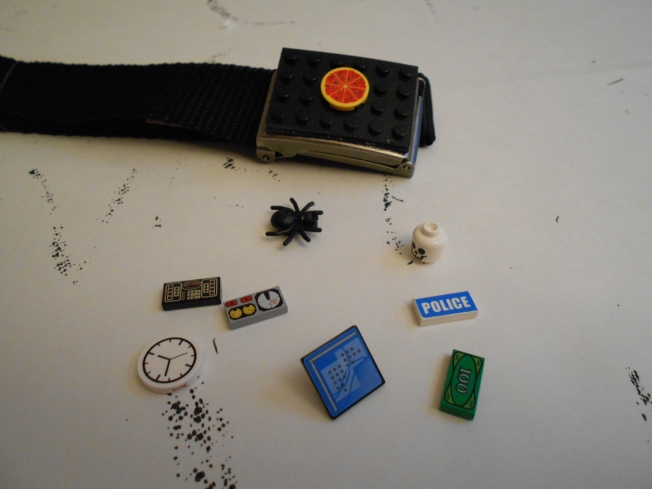
So here’s a little something to get your interest back again! I mean, EVERYONE loves LEGOS…but especially my nephew. When I found this on Pinterest, I knew he had to have one. I thought this might even encourage the act of buttoning his pants. Hey, he was like 6-7 at the time. There are better things to do than make sure your pants are on properly!  I know grown men that, giving the right beverage, have the same problem!

I had been collecting “Pins” throughout the year for Christmas ideas. That years goal was to do ALL handmade gifts.  I did it, with a few little store-bought things here and there and I don’t plan on ever doing it again.  It’s a bit overwhelming.  I’m already thinking about this Christmas, just one handmade thing per person will do!

It was so simple.  Just get a plain belt with a flat buckle (or as flat as you can find). Glue some foam between the buckle and the Lego piece that’s about the size of your buckle.  After that, I went to the Lego website and found some neat small pieces that could be used on the belt. Too cute!

Everything is Awesome!

Everything is Awesome!

Inner Peace

Standard

Hello all my loves!

I’ve been busy working on some projects but mostly just busy enjoying the lovely life I am blessed to live.

I wanted to share some results with you for the Craft Challenge Poll.  Thank you to the 12 that voted.  It’s nice to have feedback on the projects you create!  The winning project was the dress with 50% of the votes (sounds better than 6)!  The beach bag came in 2nd.

Thanks to all of you who support me through the blog, facebook page and especially those that have to deal with me in real life! 🙂

Lately, I’ve been noticing how destructive our minds can be when we let them run rampant  How all those ridiculous, unconstructive thoughts can get the better of you and steal away your inner peace.  I came across this article and wanted to share it with all of you.  I try to keep this blog mostly craft related but looking at the world in its current state, I think this is an article we could all use to read!

I know in a lot of circles of family/friends in my life, women especially, are looking to remember themselves, love themselves and find an inner peace and a simple happiness to life.  There are so many things we have no control over.  The only thing we have control over is ourselves (and I’m sure we can all agree, even THAT is hard at times).  Maybe you are feeling that way too!?!

Together, lets boost each other up…to be the people and society we were all meant to be.

Check out this article on How to Quiet Your Mind by Tina Su.  I think there is way more to gain from this information than a quiet mind, but a happy and wholesome life as well.  If you don’t have time to read it, keep these 4 points in mind:

  1. Say what you mean.  Mean what you say.
  2. Don’t say to anyone unless you can say to everyone.
  3. Don’t say inside, what you cannot say outside.
  4. Don’t say unless it’s true, useful or kind.

With Love,

Rhianna
Craft Challenge Poll

Standard

So here’s what I want to know…which one of the Craft Challenge projects was your favorite???

Need refreshed?

First, I did the Necklace…

 Finished Necklace

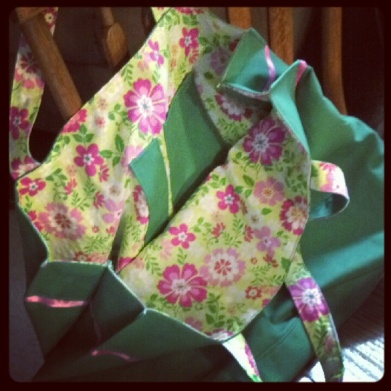
Then, the Beach Bag…

 Finished Instagram

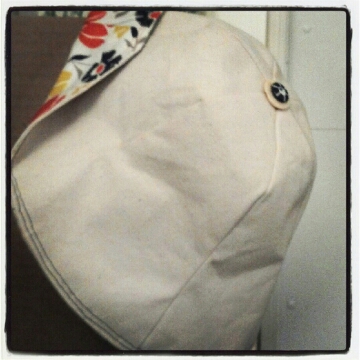
Then, the Hat…

 hat

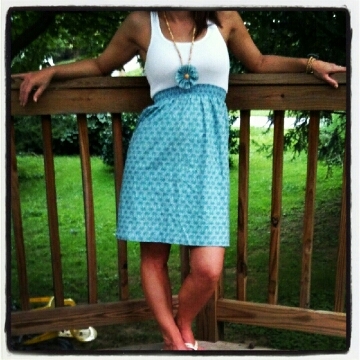
Then, the Dress…

 Finished Dress

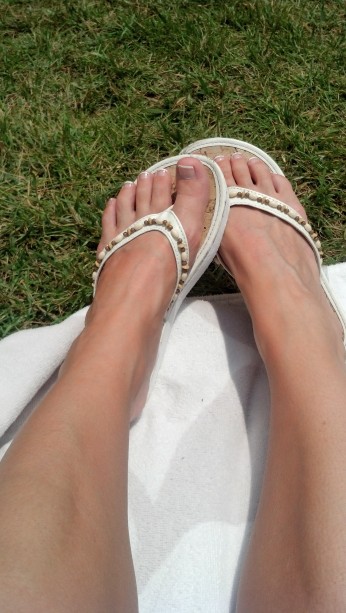
And finally, the Shoes…

 Finished Flipflop

Please tell me your favorite by casting a vote!

With Love,

Rhianna
“Wrapped In Love” Scarf for Christmas

Standard

Finally!  The last of the Christmas projects!  Just in time to start working on this year’s Christmas presents! Haha!

I found this project on Pinterest, or a blog, but probably both!  It looked so easy…fabric marker, scarf and inspirational words.  Seems simple enough!  WRONG!!

I don’t know if it was because I got one of the Pashminas they sell at A.C. Moore a.k.a. not the right material?  Not sure but Mom wanted a Pashmina (which at first I thought she just spelled ‘pajamas” wrong on her Christmas List).  I ended up switching over to the fabric paint I use when I make freezer paper shirts.

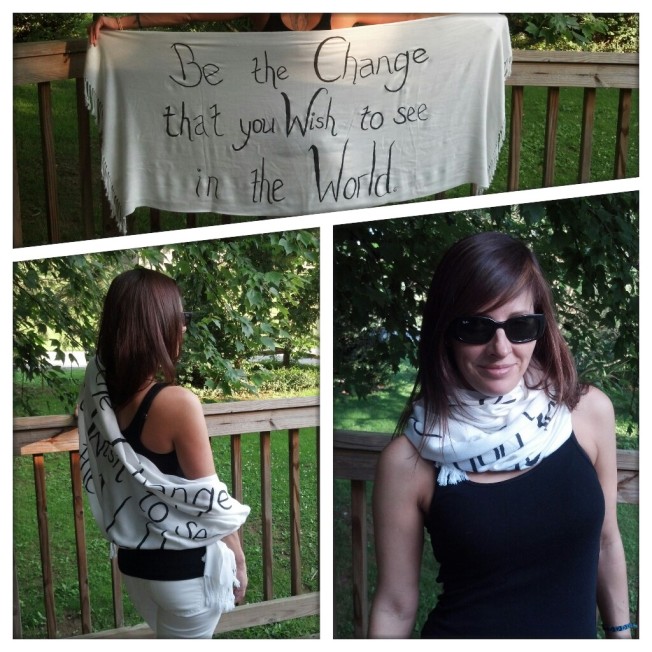
Truth is, I love the look of it.  It’s so cool to know you are wrapped up in words of inspiration or love.  When it’s all wrapped around you, it just looks like a cool pattern.  I just have to find a simplified method or, well, I guess I found that, but one that works for me!  I also wish I had better huge handwriting.  Maybe a freezer paper stencil would have been the way to go?

Scarf Collage

Anyone else out there ever try this?

With Love,

Rhianna
Project 5 – Shoes

Standard

Think back…way back…like a year ago.  A lovely lady was changing her blog and giving herself a Craft Challenge (with herself).  4 out of the 5 projects were completed and posted…number 5, well, it was hibernating.  Summer ended and the idea I had for “Shoes” seemed a little less practical.  I can’t wear flip-flops in the snow!

Summer is here again…the 1 year anniversary for my blog was the other day…I think it’s time to wrap up the Craft Challenge!

I’m not gonna lie.  I started this project that involved weaving bamboo coasters together to make a natural weave bottom.  I don’t really like plastic flip-flops.  I like the natural bottom.  Old Navy had maybe 2 summers where they made them and that was like 5 years or more ago.  It’s impossible to find them (for me)…so why not make my own?  Let me tell you why not – no one should spend hours and hours of their life on a pair of flip-flops.  They are just flip-flops.  I still need a shoe project though…hum…(light bulb)!

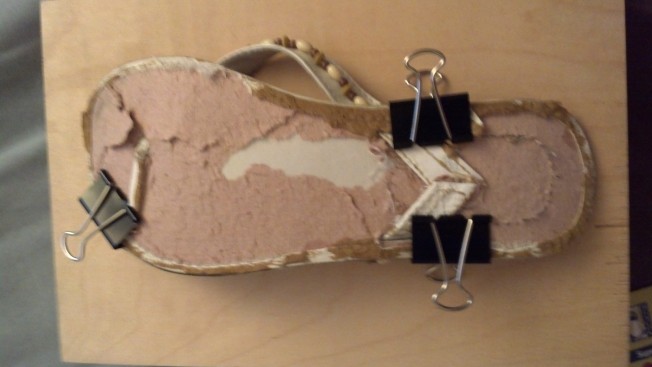
Look at these sad, very loved flip-flops.  They weren’t made with the best quality bottom…so gradually, I ended up walking on what felt like paper.  Time to give these flip-flops an extended pass at life.

Before

I started by ripping off the old, thin sole.  First with an Exacto knife, then just ripped.

I glued down the thong and sides to the bottom and held them in place with some office supplies.  I let them dry overnight.  The glue I am using is fast bonding, water and weather proof.

Straps glued

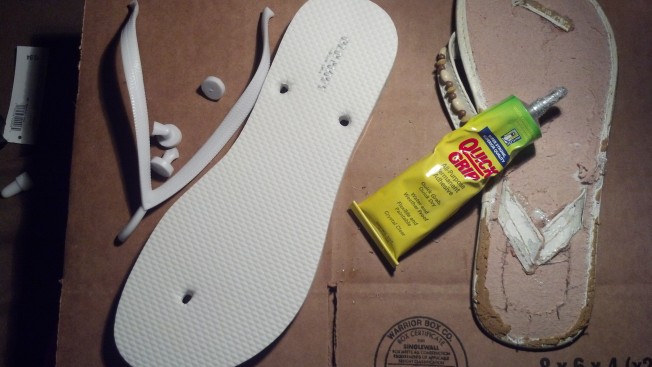
Next, I took my new, white, plastic Old Navy flip-flops ($2.50) and cut off the plastic straps.

Top to Bottom

I applied glue to half of the plastic flip-flop…I began placing my old flip-flop on top.  Matching everything up as best as I could.  I applied glue to the second half and press everywhere.  The nice thing with the fast bonding glue is you only need to take a few minutes pushing everything together before it holds.

My flip-flops didn’t match up EXACTLY, especially at the toe.  Once both were glued and dried overnight, I took my jewelry hand saw and cut off the end.  Then, I got out my dremel and smoothed down where I had to cut.

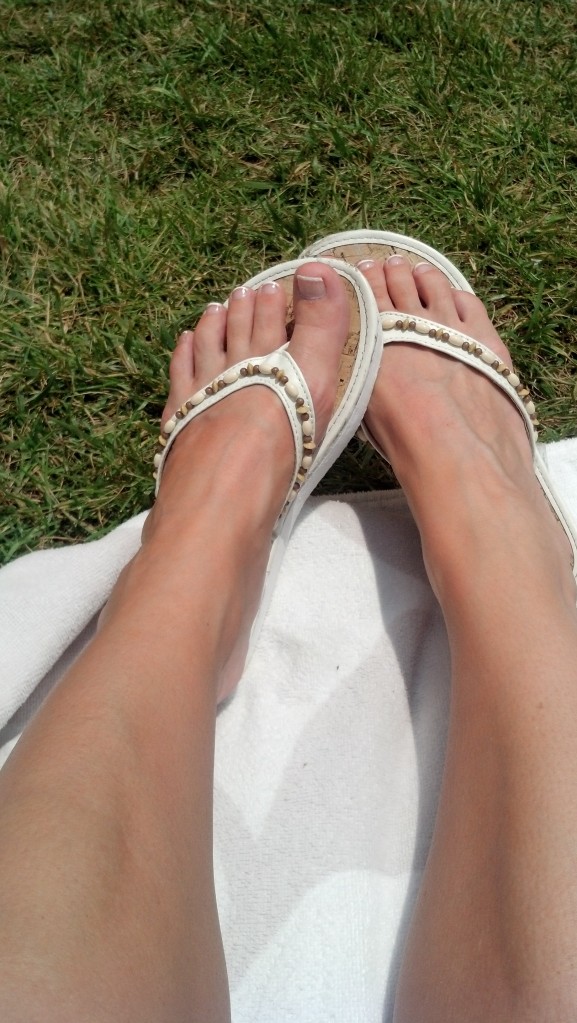
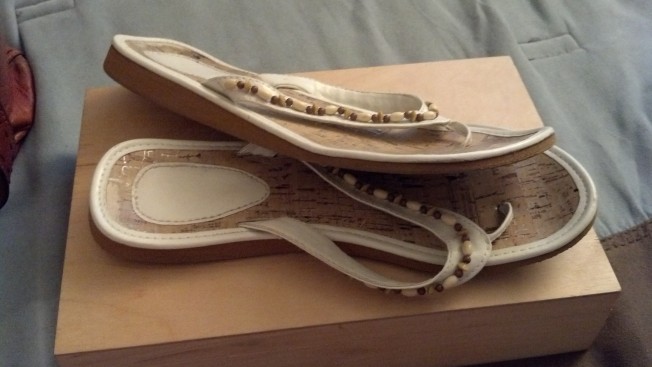
I think they look pretty good.  I may clean up the ends where the white has been scuffed off the front with some paint or something, but other than that…my flip-flops live again!

Finished FlipflopWith Love,

Rhianna
Tutu Time!

Standard

RLNanny


One of my little princesses is about to have her 1st Birthday!  SO EXCITING!  She is one of the most beautiful and happy babies I have ever had the pleasure of knowing and loving.

In doing this project it made me feel two things:

1) I miss being a little ballerina.

2) I want my own little ballerina.  (well…maybe…someday…)


Yes, that’s me…little ballerina me with the GREATEST Nanny (on earth and heaven) EVER!!! 


One of the things I have in common with the mom (or Queen to the Princess) is our love of dance.  We both took dance most of our lives.  It’s a given that if you’ve done that, your daughter will at least take the beginners ballet and hopefully more as the years go on.  I don’t think 1 is too early to get your first tutu!
This project was so easy, which made me love it even more.  You can go online and find a whole bunch of different ways to make tutus but I think this one is the best.

What you’ll need:

  • Rolls of Tulle (I found mine at Jo-Ann’s in the “wedding” section.  I bought about 5 rolls for mine, 2 white, 2 soft pink and 1 bright pink)
  • Ribbon or Elastic (I went with a soft pink satin ribbon, about 2 inches thick)

That’s all you HAVE to buy.  I opted to also get some thin, iridescent, bright pink ribbon and some little flowers.

You’ll want to cut your tulle to double the length of your tutu.  I followed a color pattern (but I have OCD).  The girl who’s blog I read said she chose her colors sporadically.

If you are using elastic, you probably want to sew your ends together before you start.  I cut my ribbon to the length of her waist plus about 10-15 inches extra on each side.  I wanted it to be able to grow with her.

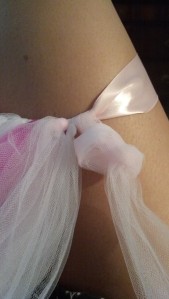
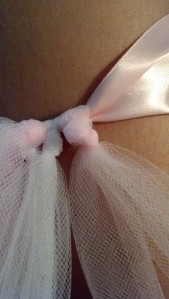
You’ll put the elastic or ribbon around your thigh, wrap a piece of tulle around it and tie a knot up at the waistline.

Tutu tyingTutu tying 2

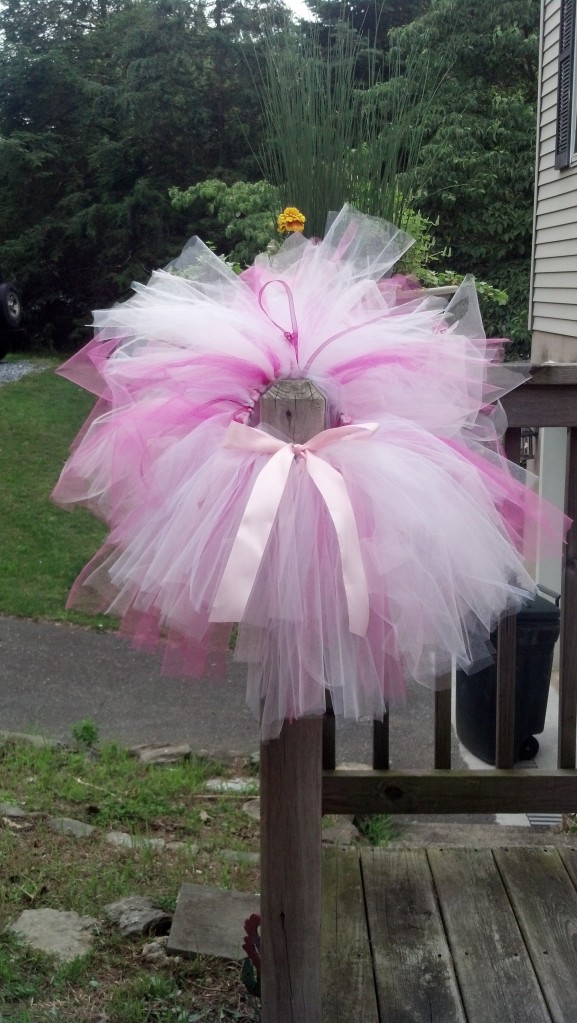
Do this over and over again until you’ve reached the desired fullness.  I might’ve gotten a little crazy on the fullness…we may lose the baby in the tutu!

TutuNote To Self: Check what’s in the background of your shot.

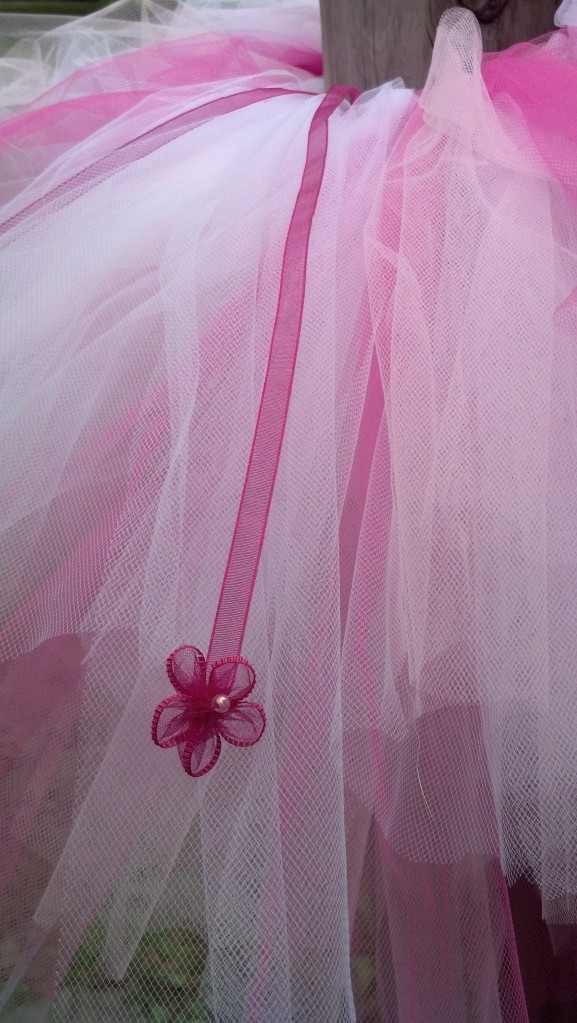
When the tulle part of the tutu was finished, I went back through and added some of the thin bright pink ribbon with some of the little flowers attached at the bottom…just to give it a special something.

Tutu Ribbon Detail

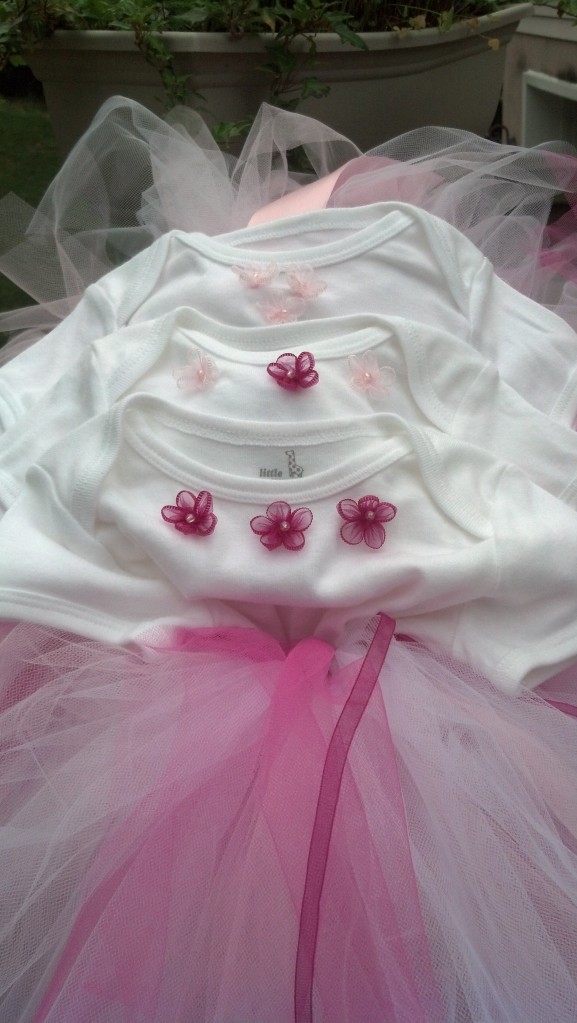
I also added flowers to some onsies to complete the package.

Tutu and Onsies

I wanted to make one for myself.  But really?  Where can I wear a tutu?

With Love,

Rhianna